Monday, September 30, 2013

More Guided Reading

I posted last week about some of the things we do in our Guided Reading Groups.  I promised a few more pictures this week, so I am back to deliver.

We started again with practicing our names with correct formation.  I am starting to see this transfer over to our regular papers, but some of them are still resistant to change.

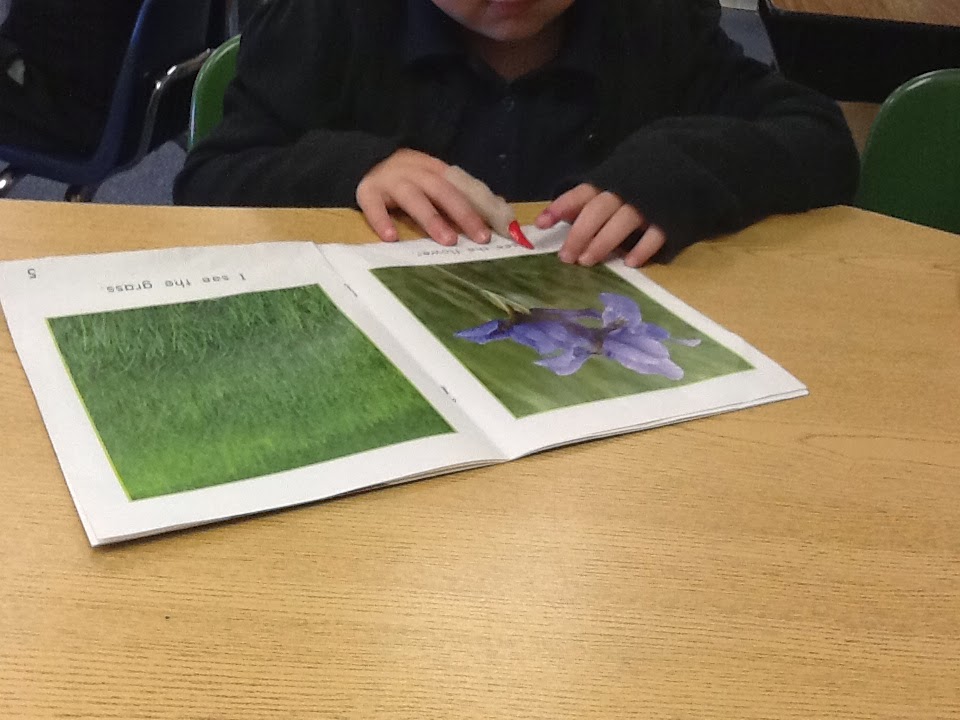
Today we read a new book - a Level 1 book called Things I See.  I chose this book because I wanted to focus in on the word see.  It is one of our spelling words this week and it is one of the first sight words I like to teach because I usually teach them to write I see sentences first.

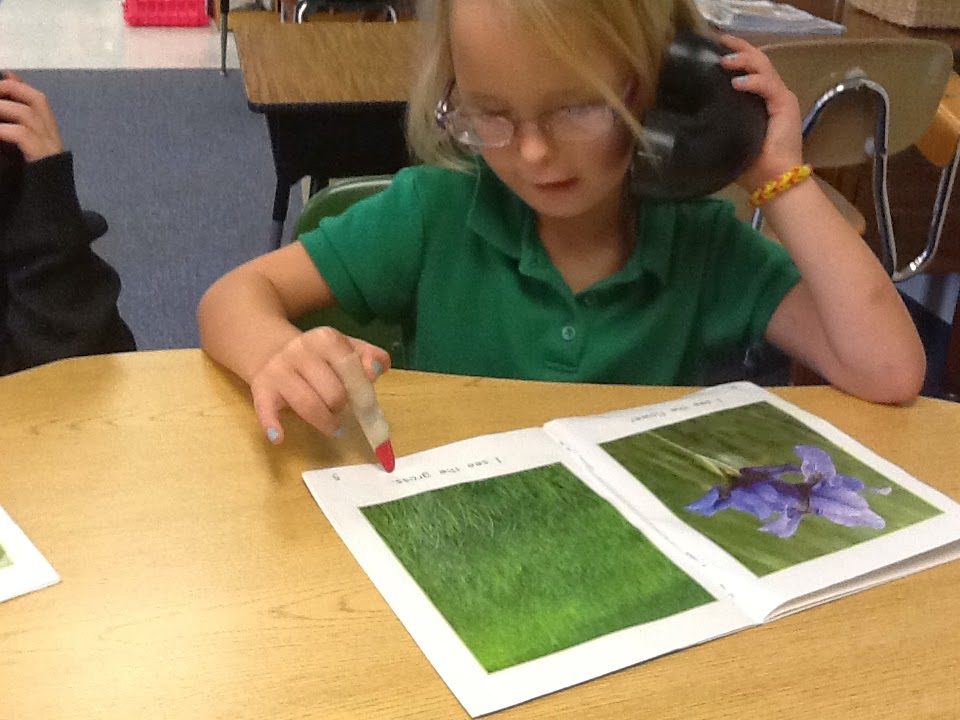
We did our picture walk and I planted the vocabulary for them and then I had them read with their whisper phones.  I love the whisper phones!  I am able to listen in to see if they have grasped the patterns but they don't disturb each other while they are reading.


This group is working on pointing one - to - one, so I pulled out my "old lady fingers" to give them something fun to point with.  (They are witch fingers, but I don't like to say that just in case someone doesn't believe in it.  These came from Oriental Trading, but now is a great time to get them anywhere.)


 Last week I mentioned sight word practice after we finish reading and retelling.  As I mentioned before, our sight word was "see" in this story.  I gave them their letters and asked them if they knew what word we could make with those letters.  They got busy making their word.


Then they write the word on a white board.  I got these lined strips in the Target Dollar Spot this summer.  The pack had 4 for a dollar.  The lines are a little small, so I'm not focused on how the letters are on the lines just yet, but they are a lot smaller and less cumbersome than a regular dry erase board.  I actually just ordered some dry erase circles to stick to the table.


After we finish our sight word, we write a sentence.  This was our first time with any interactive writing.  I chose a sentence similar to our book - "I see a bug."  Our book actually said "I see the bug." but I only wanted to focus on one sight word. 


When we finish writing the sentence, we cut it up and put it back together.  Then they read it to me.


I have every student in the group do this.  Then I put it in an envelope and write the sentence on the front.  I let someone from the group take the sentence home to show their families how to put it back together and read it.  I promised them someone different could take it the next time.  I typically do this twice a week and on the other 2 days we will do some independent writing.  I'll post more on that later. 

I hope these ideas are helpful to you!  Please don't hesitate to ask a question if you have one!


post signature

Friday, September 27, 2013

Fall & This Week's Alphabet

Another week in the books!  We had a busy week full of Fall, Positional Words, Golden Girl and Harry the Hat Man!  Here's a few pictures of our week:


We made our first book today!   We have done some mini books, but they actually made this book.  I don't do Reading Groups on Fridays. Instead, we make a book based on our theme and do a theme related art project.  The point of the books?  They hit about a million goals all at once and provide the students with a book they can take home and successfully read to their parents.  We cover cutting, gluing, illustrating, sequencing, print concepts, one to one pointing, high frequency words and the list goes on!  This week's book was called "Fall Bugs."  It reviewed number words one - three, color words, and positional words.  I give the students a premade book - construction paper for the cover and copy paper for the inside pages.  They also got a page of sentences and for this particular book a few die cuts.  I model every.single.step of them using the document camera or else this could be a disaster.  We glue our sentences in first, we glued the die cuts in second and then we illustrated each sentence.  This book had simple sentences such as "One red bug on a yellow leaf."  These are great confidence builders!


We made fall trees with our hands and cut paper.  

We also did lots of other Fall stuff including my Fall Centers, but I didn't get to snap pictures of those :)  We made these: (Or something similar.)

Paper Plate Scarecrow

But I'll post pics of those next week. (I forgot! Today was crazy busy!)

We focused on the letters Gg and Hh this week.  We are getting a lot better at recognizing the letters and sounds and forming the letters correctly!  Writing the Hh's was wonderfully easy - we got ahead because it didn't take long to complete!  We decided to make the Hippo Hat from Simply Kinder today.  Basically my kids couldn't be cuter sporting their Hippo Hats!


One last random picture to leave you with.  I meant to snap a picture of this WEEKS ago but I kept forgetting.


We created these cuties after reading "The Crayon Box That Talked" and discussing how we are all unique and all that jazz.  We give them a 9x12 piece of construction paper of their color choice and walk them through the steps to make these cuties.  I usually leave them up most of the year because they are so darn cute :) 

Next week, we are on to our Five Senses!  


post signature

Thursday, September 26, 2013

Guided Reading

Assessments are complete, we've got the routine for switching Centers down, so this week we began some true Guided Reading lessons.  While my children differ in the knowledge of letters and sounds, I don't have any readers at this time.  Most of my students are a level RB (Reading Behaviors), which means they are ready to read, they just don't have the knowledge base of sight words and reading strategies to read the Level B.

I started out with a Level A (which only had 2 words on the page) just to teach them our first strategy, Eagle Eye (look at the picture).  This gave me the opportunity to see what they knew about one to one matching, how to navigate through the book and other basic print skills.

Here's a typical lesson for us:

Students come to my table.  They start by practicing their name with a dry erase marker.  I typed their name in Century Gothic font and placed it in a page protector.  They trace it, write it underneath twice and then they turn it on the back where they can't see the model and write it a few more times.  We spend about 3 minutes on this.  All of my students can write their names, now we are working on writing them correctly.  1 uppercase letter, the rest lowercase - all facing the correct direction and formed correctly.  Breaking muscle memory is hard!  We are working hard on getting them to transfer this skill onto their regular papers.  We're almost there!


When I see them form a letter incorrectly, I write it at the top so they can see the correct formation.  This sweet fella was forming his n incorrectly, so I had him practice it a few times.


Another example of writing the letter at the top so they can see the correct formation.  

This is a great transition activity, because it takes the students varying times to get to me so they can start as they get to me.  We will NOT do this forever.  As soon as I see that they've transferred the skill to writing their name on the regular, we will stop this.

Next we move on to our book.  We read this book yesterday, so today was a reread day.  This book is a Level 1 - A Day at School.  I go back over the book and what it was about and remind them of the sentence pattern by saying something like "Oh the book was about what we do at school?  What is something WE CAN do at school?"   This is very helpful for them. 


Whisper reading.  This is the elbow piece of plumbing from Lowes.  6 of these cost me about $25.  I didn't have the money for the real deal but these work just fine.  They love them!


After they retell the story, we do this activity.  I wrote the sentences from the story on a sentence strip and they find the page it came from and put the sentence back together.


 After the sentences are together, I shut their books and we talk about more print skills.  Right now we are working on Capital Letters, Puncutation, How many words are in the sentence, Find a word with x amount of letters, and pointing one to one.

Next we practice our sight word from the story.  The sight word in this story we focused on was "can."  I give the students paper letters and ask the what word they think we can make with those letters and then they make the word.  We "mix and fix" which is where they mix the letters up and make the word again.   I didn't get pictures of this today, but I will get them soon.  Then they write this word on a white board a few times and we practice spelling and saying it.

To end our lesson if we have worked hard, we get iPad time.  I have 1 iPad for my classroom, so I find this one of the most effective ways to use it.  These are our favorite apps right now depending on ability level and group.


Abby Sight Words - They have a free version, but it's well worth the couple of dollars for the full version!  This one focuses on having them find a specific sight word and there is another part of the app to spell the words.


Abby Phonics - Again they have a lite version, but it is well worth the extra few bucks for the full version.  This one focuses in on sounds.  It has them match the letters, find pictures that start with the "h" sound etc.


ABC Alphabet Lite - Totally Free and I haven't needed to upgrade it.  It focuses on finding a specific letter.


I usually spend about 3-5 minutes on one of these games.  It's a great motivator for my students and also educational.  I basically go around the table with everyone getting a turn until we are out of time.  Everyone gets the same amount of turns.

I finish with a smart skittle and hit my "Don't Worry Be Happy" button and we transition to the next center.  And that's our reading groups for now!  We will add more as we go!


post signature
Related Posts Plugin for WordPress, Blogger...